Process of Merging
The counties should have a common boundary, while not required for the operation it makes better practical sense. Load the counties into ArcMap. The counties at the census tract level shown in this demonstration were not projected, this is how the data was received from the U.S.
Census Bureau.
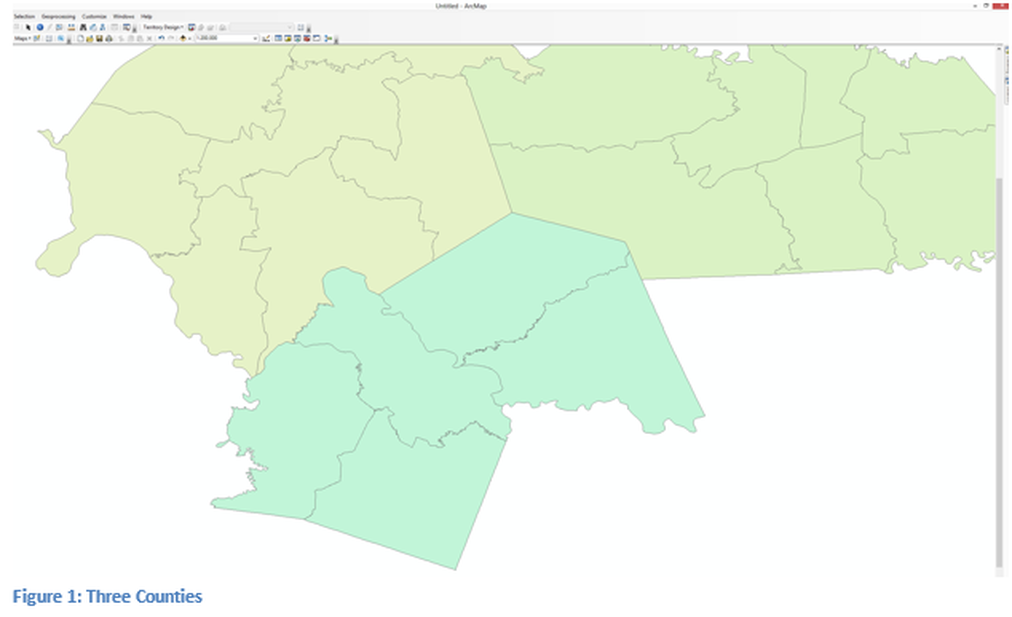
The files will need to be decompressed before attempting to load the shapefile into ArcMap. Once the three shapefiles have been loaded into ArcMap the displayed information should have an appearance similar to Figure 1. The colors may be different from those shown. Use the Zoom To Layers tool to display the three counties completely. This is done by highlighting all three layers in the Table of Contents, right clicking and choose Zoom To Layers.
The files will need to be decompressed before attempting to load the shapefile into ArcMap. Once the three shapefiles have been loaded into ArcMap the displayed information should have an appearance similar to Figure 1. The colors may be different from those shown. Use the Zoom To Layers tool to display the three counties completely. This is done by highlighting all three layers in the Table of Contents, right clicking and choose Zoom To Layers.
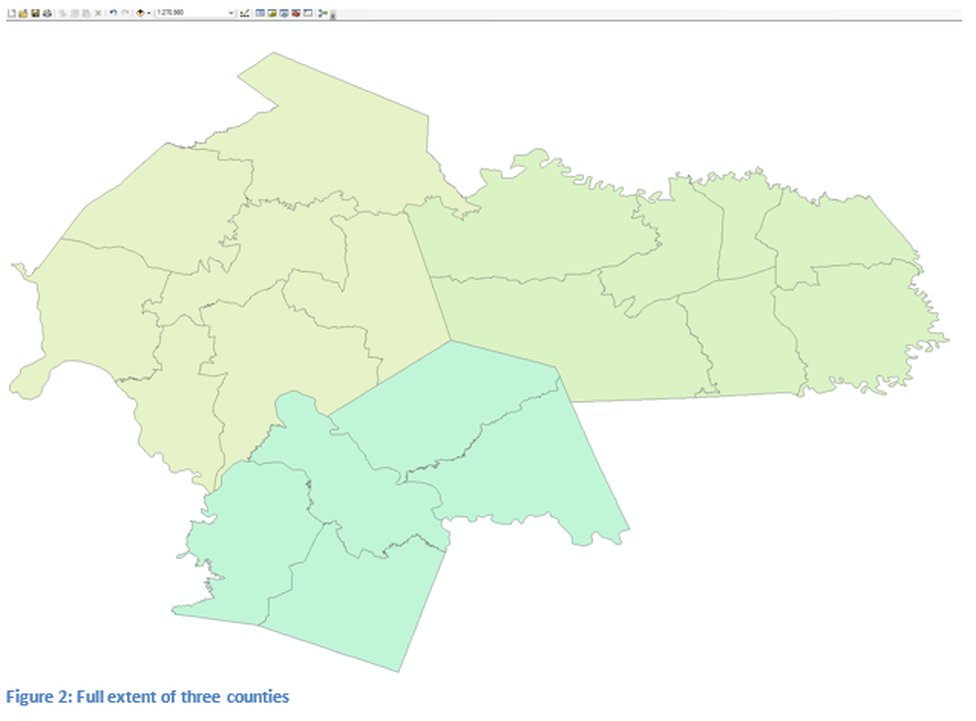
In Figure 2 the three counties are now completely visible the shapefiles will be merged into a single shapefile.
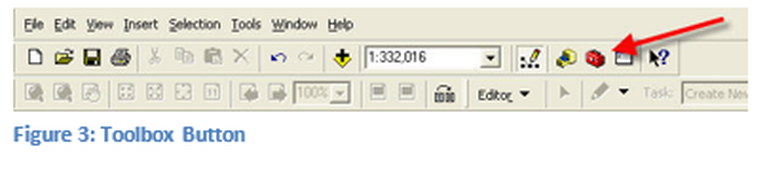
First open the Toolbox by clicking on the Toolbox button, as seen in figure 3, the Toolbox will open another program, which gives the user the ability to modify files and do data analysis. The Toolbox will be a feature that is used in much of the analysis work performed in ArcMap Desktop.
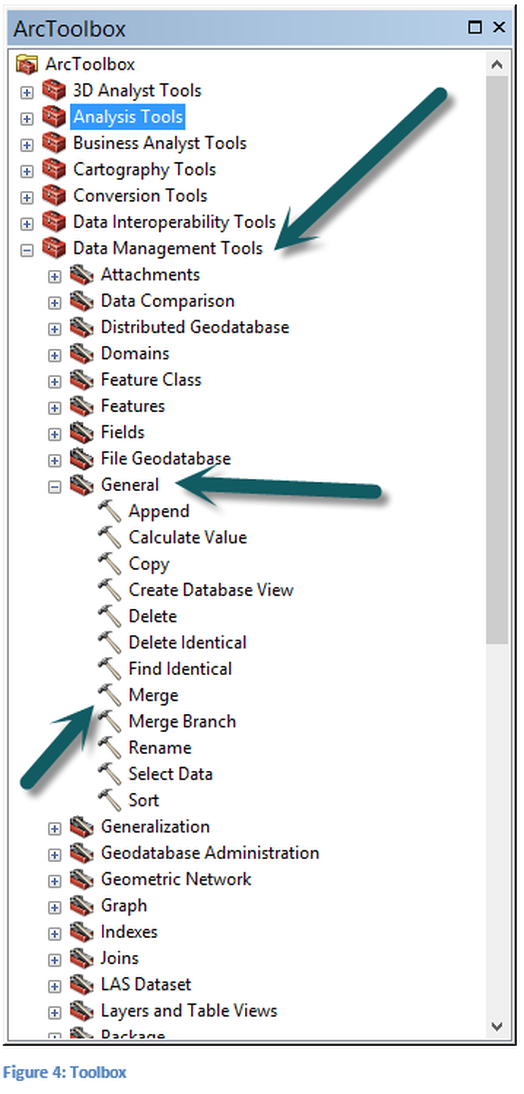
The tool which will be used is located in the Data Management Tools section and in the General Tray. In this tray is the Merge Tool, click the tool to launch, as seen in figure 4.
There are two primary steps that will need to be completed for the merge to be completed. The first step is selecting the shapefiles that will be merged.
There are two primary steps that will need to be completed for the merge to be completed. The first step is selecting the shapefiles that will be merged.
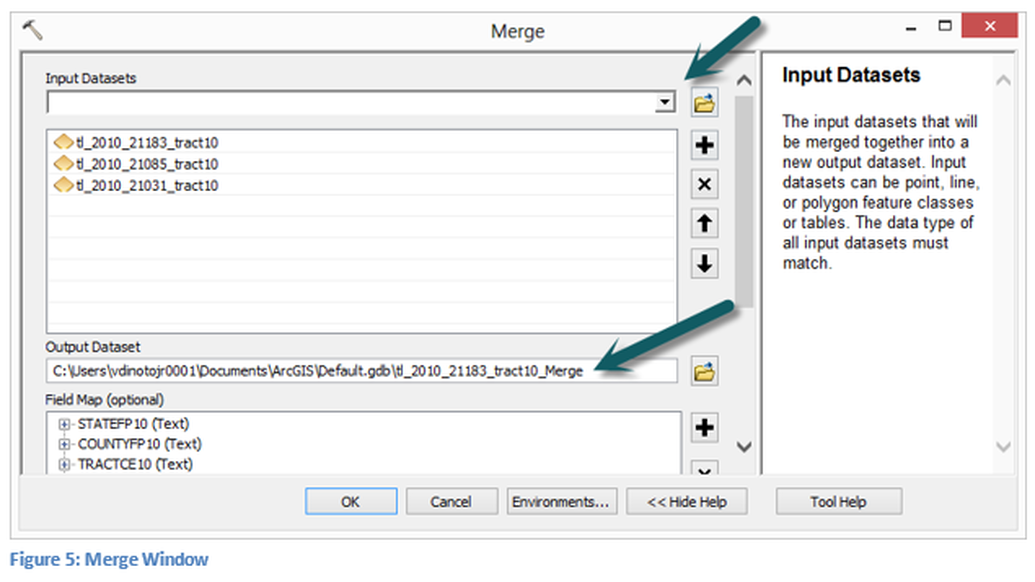
If the files are loaded in the map the pull down arrow can be used, if the files are not loaded on the map then they will need to be located using the open file folder button. Figure 5 shows the selected files. The second step is naming the output file and selecting the proper storage location. Use the open file folder icon to browse to the storage location and provide a name using the proper naming convention. Currently the window contains the default saving location and naming.
After these steps have been completed the files are ready for the merge process to occur click the OK button. Once the operation begins a progress scroll will appear on the bottom right corner. The length of time to complete the merge depends on many factors, number of files, complexity of the files (number of attributes), speed of the computer, etc. When the process is completed a pop-up window will appear on the bottom right corner with a green check, if the merge is not successful in the same location will be a red ‘X’. Close the window once the operation has been completed. A new layer will appear in the table of contents. Close the Toolbox so more room is available to do geoprocessing on the map.
After these steps have been completed the files are ready for the merge process to occur click the OK button. Once the operation begins a progress scroll will appear on the bottom right corner. The length of time to complete the merge depends on many factors, number of files, complexity of the files (number of attributes), speed of the computer, etc. When the process is completed a pop-up window will appear on the bottom right corner with a green check, if the merge is not successful in the same location will be a red ‘X’. Close the window once the operation has been completed. A new layer will appear in the table of contents. Close the Toolbox so more room is available to do geoprocessing on the map.
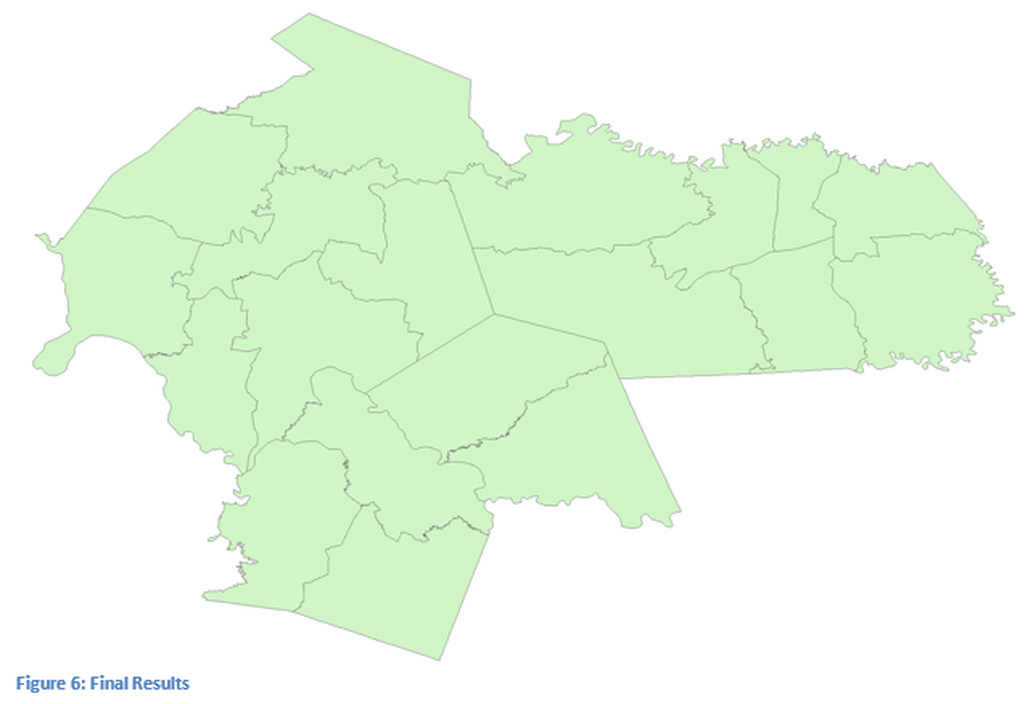
Once the process has been completed the map should have a single color (your color may be different). Once this merge is completed a new shapefile has been created, all functionally of a shapefile can be performed on this merged file. The original three county files can be removed from the table of contents.

Figure 7 displays the attribute table for the new shapefile showing all three initial counties have been combined into a single file. The original three county files can be removed from the table of contents.

