Legend
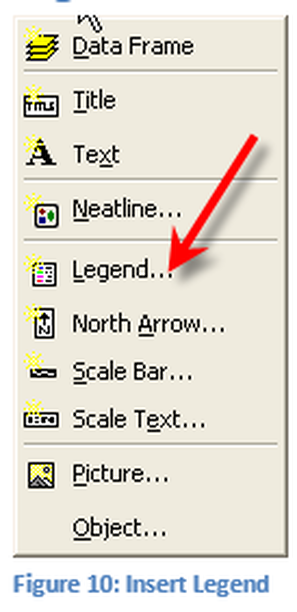
Go to the Insert Menu, and select Legend. The legend of the map is important for others to understand the meaning of the map which was created. For example what does the green line mean or the red line? There are lots of parameters that can be controlled in the legend of the map. The legend wizard will take several windows to complete the process. Only a few functions of the legend wizard will be used in this lesson, other functions should be explored beyond those covered in this document.
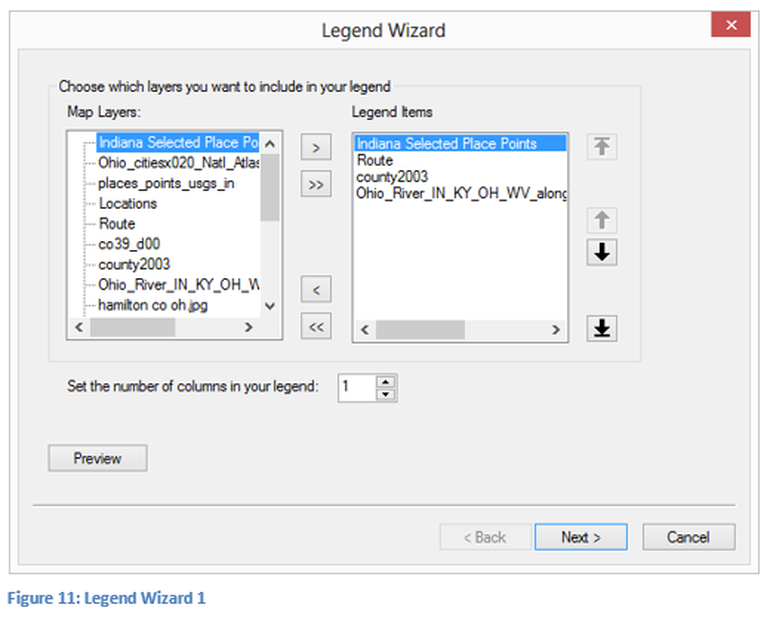
The first window in the wizard allows the selection of the items to be display in the legend. In this example there are four map layers to be displayed. There are several other layers in the authors table of contents, but these will be ignored in this example. To remove an item from the Legend items, in the right window highlight the item and use the arrow pointing to the left, the reverse is done to add an item highlight in the left window and use the right arrow. Layers are not being removed from the map just not being displayed in the legend. Click on the preview button, the effects can be seen. Click Next to navigate to the second legend wizard window.
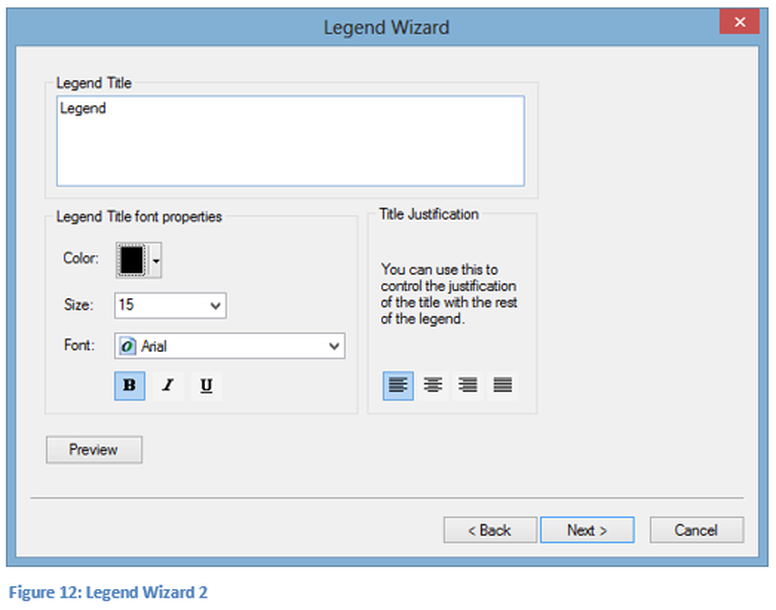
The next window is the title of the legend which can be modified by the user. The title of the legend can be deleted completely and thus the legend would have no title. Additional properties of the legend title can be controlled such as color, size, alignment and font. Once these edits have been made click next to proceed to the third legend window.

This window gives formatting control of the legend box, including the border, fill color and shadow. Each of these parameters can be controlled by the use of a drop down arrow to give the user parameters which can be selected. Placing a background color will set off the legend from the rest of the map, which can be very useful. Putting a thinner or thicker border around the legend information also helps set it off from the map. The legend should be easy to locate but not dominate the map. Format the legend box as appropriate. The legend is to support an understanding of the map while not masking its functionality. Click next to continue.
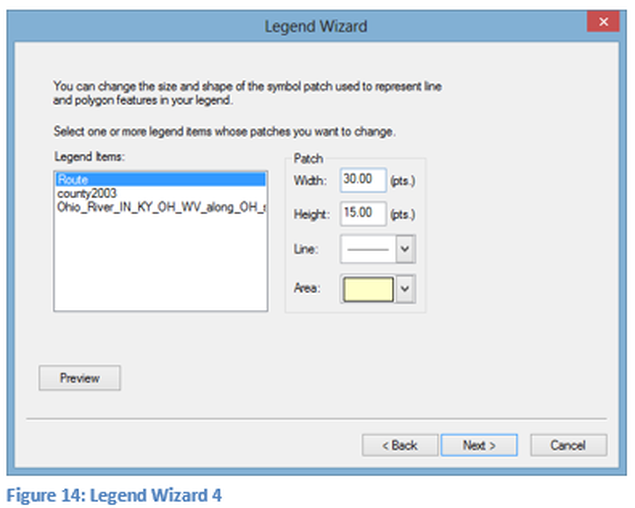
Figure 14: Legend Wizard 4
In the next two windows (figures 14 & 15) of the wizard the default values will be used. The designer can choose to make changes where appropriate.
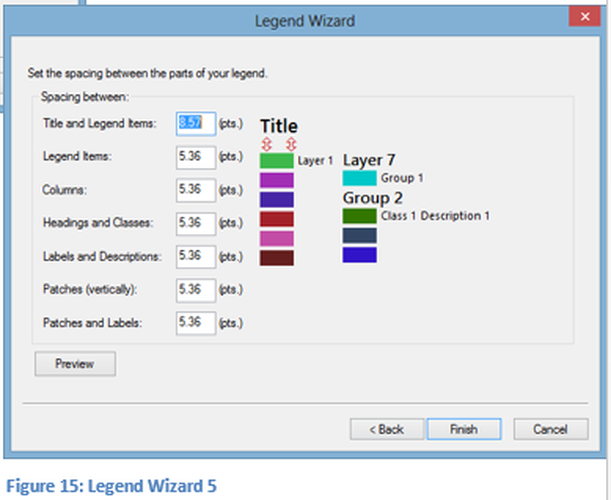
Click Finish in Figure 15 to complete the legend wizard and to exit. Edits can be made to the wizard as the design process continues.
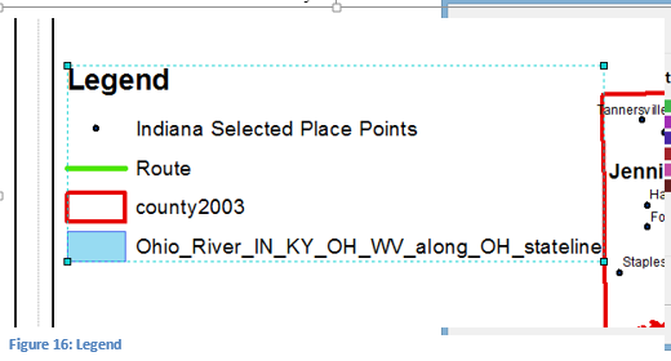
In Figure 16 a part of the legend created with default values of the layers is displayed. The layer names displayed in the Legend need to be modified, especially the name of the Ohio River. This is done by going to the table of content and doing a slow double click on a layer which will highlight the name and at that point the name can be edited to a more appropriate name for the map. Note: the width of the legend window changes as the length changes. The renaming of the layer is only giving the layer an alias and not truly change the name.
We also modified the legend by double clicking on it and adding a boarder around it as can be seen in Figure 17. Notice the boarder was given curved corners and other were renamed.
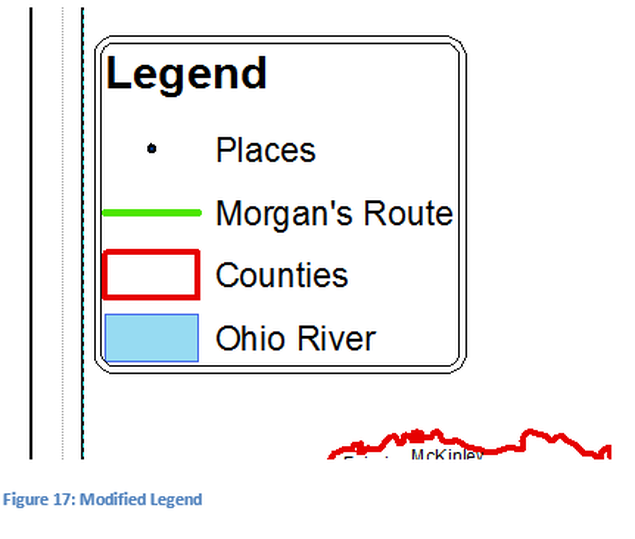
The legend can be moved on the map to an empty location since it is automatically placed at the center of the map. This is done by dragging the legend to an open location on the map. The legend for this map will be placed on the left side of the map

