Multiple Ring Buffer
The final part of this technical skills lesson will be to create concentric rings around the campuses of different distances. Open the Toolbox and select Multiple Ring Buffer1 this time instead of just buffer.
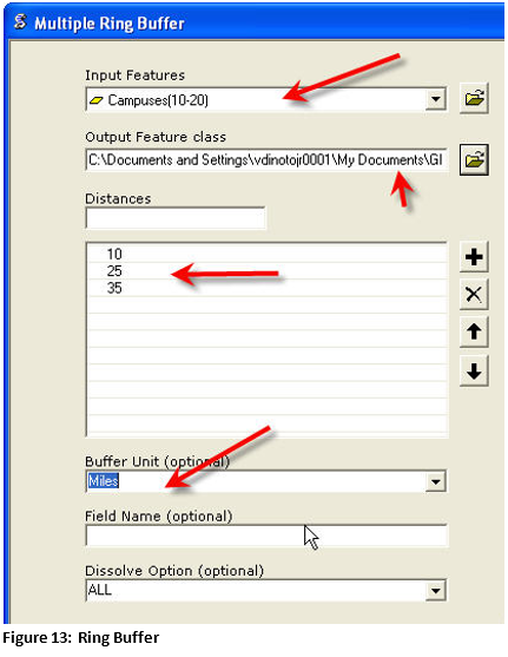
Remember buffering can also be done with lines and polygons, in this lesson only point shapefiles will be explored and it is recommended that the learner try buffers and multiple ring buffers with lines and polygons. The multiple ring buffer window looks similar to the standard buffer window. The first two boxes are the same (location of the shapefile to be buffered and storage location). Select the layer to be buffered using the pull down arrows. The KCTCS campus locations will be used as the input. The output feature should have a descriptive name and an appropriate storage location. Input the first distance and click on the plus button. Repeat this for at least two additional distances. In this example the distance of 10, 25 and 35 miles were selected. Next select the unit, for this example miles were selected. The dissolve option has been changed to ALL so that the overlapping rings will not occur.
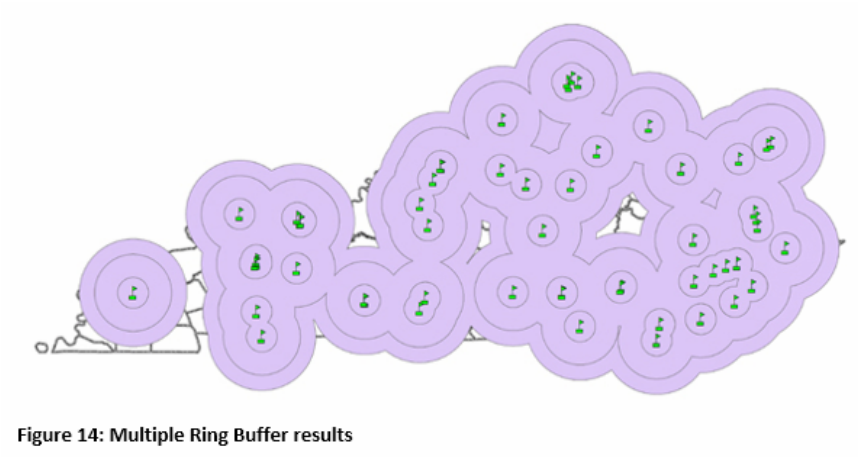
In Figure 14: Multiple Ring Buffer results, shows the completed operation. Note that each campus location has three rings about it and that the rings are dissolved; they do extend beyond state boundary since they have not been clipped. Each ring is a polygon, thus Symbology can be done to the shapefile so that it is easier understand the three buffer distances.
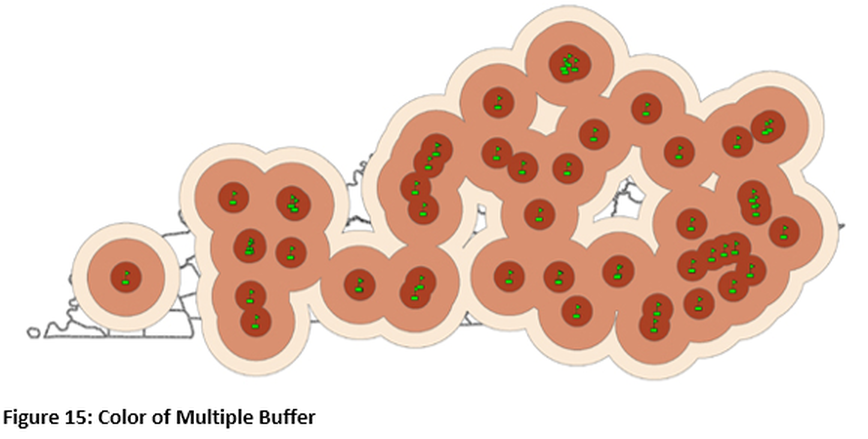
Open the property window and use the symbology tab. Select the quantities section, then select the field which has the distance measurements, finally select a ramp color, and complete the operation. There should be three classes since three different distances were input in the multiple buffer process. For a final map the state and county boundaries should be placed at a higher level and clipped the buffer with the state boundary. Note: Symbology will have to be performed again on the final map.

